Creating my Personal Website
Introduction
I have used React for my side project before. However, I am not satisfied with the performance as I see many websites perform way better and Search Engine Optimization (SEO) really sucks. I’ve used react-helmet to edit the head tag of the pages like description and title of each page. However, google search console does not crawl all my pages.
Upon reading articles on SEO for React, I stumbled in this interesting framework called Next.js. I tried to learn it and fell in love with the framework. So, I decided to use it on my personal website instead of plain html, css, js.
Tech Stack
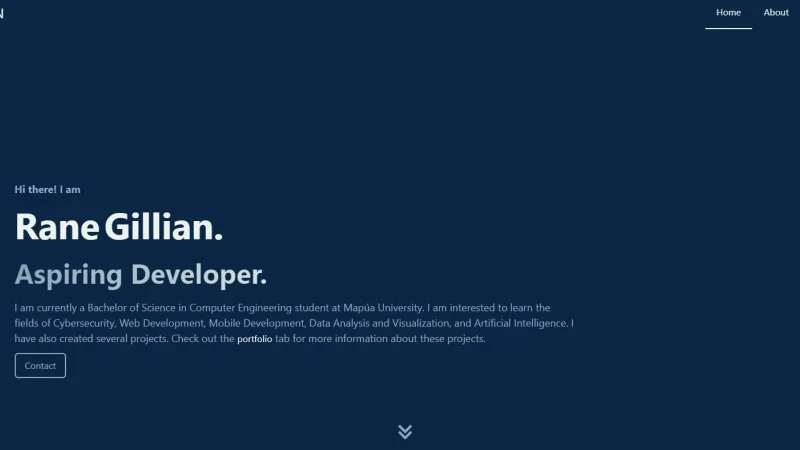
I created my Personal website as a way to learn frontend development. I used Next.js as the frontend framework and Tailwind CSS for my CSS framework.
Next.js is capable of Server Side Rendering (SSR) and Static Site Generation (SSG). On the other hand, Tailwind CSS does not provide reusable components like react-bootstrap but I like it more as it can be highly customized to my liking.
Actually, I created a template for Next.js and Tailwind CSS which is uploaded on my Github - NEXT.JS-TailwindCSS-template.
Development process
At first, I planned to create multiple routes for the home, about, portfolio, and contact. I created that one actually but after sometime, I thought that it would be better if it will be a single page only and the navigation bar would smooth scroll to the section. I used react-scroll for that functionality.
Before creating the sections, I created the navigation bar first. I had a hard time creating this navigation bar since I am creating my site to be responsive so that it looks good on any device. Even though the navigation bar was done, I had several fixes for it over time. I then moved on to the sections and will fix the bugs on the navigation bar when I encounter them.
First done was the home section. I had a hard time using animation libraries since I am a still grasping the way on frontend development. At first, I used react-spring but I am having a hard time utilizing it even though I read the documentation multiple times. I eventually sticked to framer-motion as it has better documentation.
Moving on, the about me section was next done. The most basic of all. I think it’s good for now but I’m planning to improve it some time. Nothing interesting in here though. 😆
Next done was the contact section. I used react-icons for the icons. It was harder than I thought though since I am not familiar with Tailwind CSS at all.
Last I made was the portfolio section. I picked some of my deserving projects to put in here. I made a card container for these portfolio items and utilized react-icons again.
I saw this interesting heading on https://githubuniverse.com/. The gradient looks appealing to me so I utilized it on the section titles.
You may expect this but I used react-icons again on the scroll to the next section icon as well as the floating scroll to top button.
That’s it for the frontend development. Now, what’s my next problem? Yeah. Right. Deploying it.
Deploy!!!
Of course, I will deploy it on using Github Pages so I can utilize my rgvillanueva28.github.io site. Thanks Github!
Now, I want that every time I push new changes on my source code, the rgvillanueva28.github.io repository will update too. For that, I have a free education plan on Travis CI. I don’t know testing yet so my source code has no tests. I used Travis CI for Continuous Deployment only.
Additional Features
This may be useless on my website but I am exploring about Progressive Web Applications or PWAs. Converting a Next.js project to a PWA is very easy. Just add next-pwa to your project. Refer to their documentation for further information but I’m telling you, as a beginner, it’s easy.
Conclusion
That’s it for this article. You may want to check my website on https://v1.ranevillanueva.com/.